Run the sample
The codelab code is packaged using npm. What we need to do is start our Node.js web server and then connect to it with a browser. We will do all these things locally for this lesson to get you acquainted with the sample.
1. Start the server
First things first – we need to start the server. Type the following into the command-line in the codelab’s folder to start the web server:
npm startIf everything goes well, you should see something like this on your terminal:

The server is now listening on the local host (so you can only try to connect to it from a browser on the same machine) on port 8080.
For a real service you will need to:
- Switch from HTTP to HTTPS (it won’t work otherwise)
- Install and run it on a real domain and not locally
- Move from port 8080 to the default ports (443 for HTTPS)
2. Connect a browser
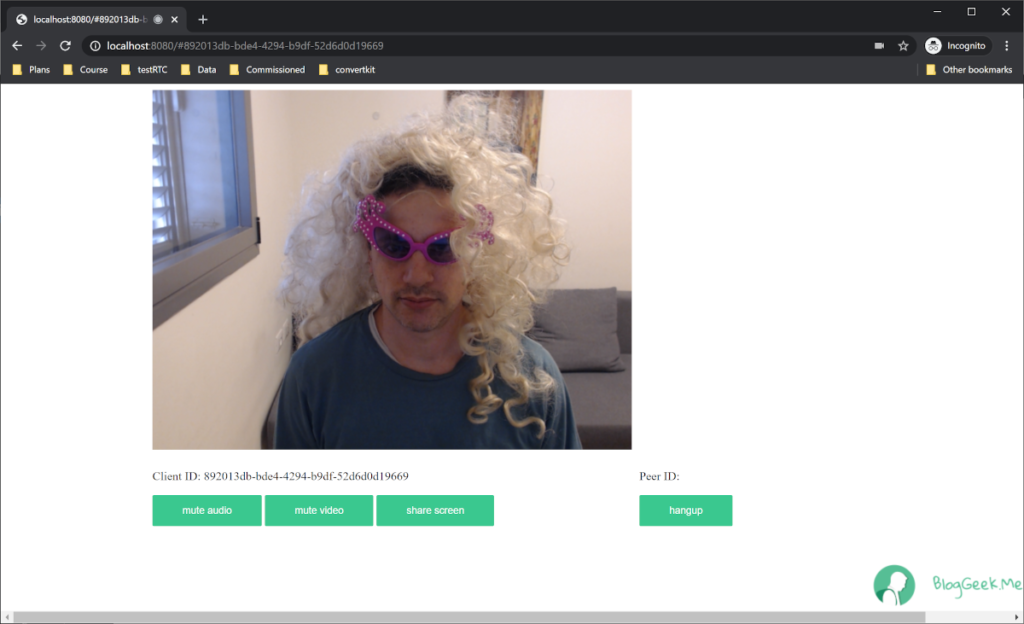
Now that the server is up and waiting, you can connect to it by directing your web browser to http://localhost:8080. This is what you should see:

A few things to notice here (besides me being blond):
- The address bar at the top. The URL includes a random identifier that the server allocated for this connection
- Actions we will be able to take on this page while on a session:
- Mute or unmute our audio and video (these can be clicked before the session as well)
- Start (or stop) screen sharing
- Hangup the session
3. Start a session
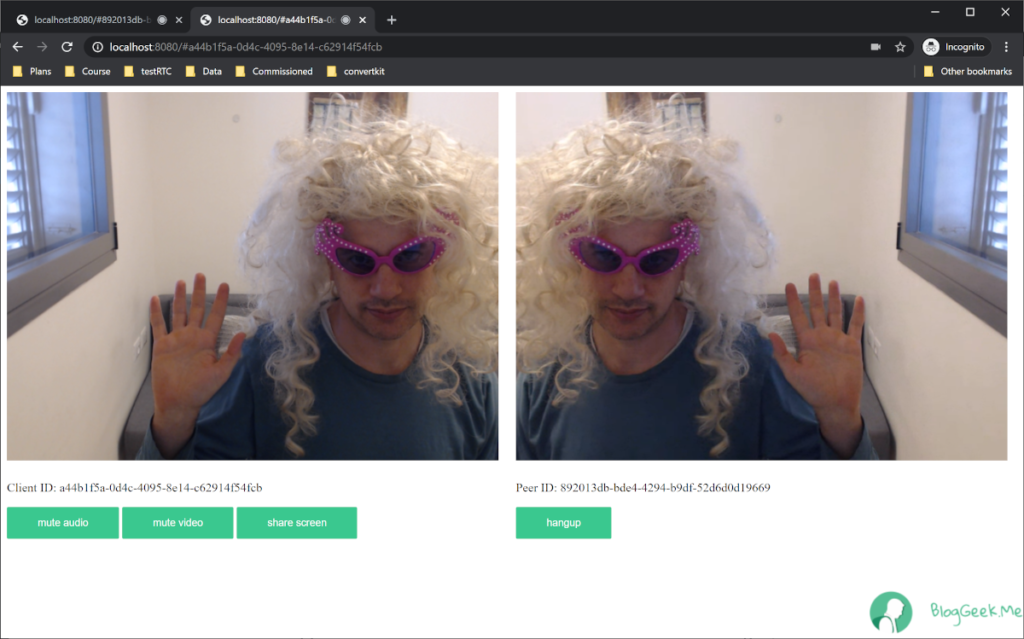
To start a session, open another browser tab (or another browser on the same machine) and open in it the URL that was created in the first window. In my case, this was http://localhost:8080/#892013db-bde4-4294-b9df-52d6d0d19669
Here’s what you should see (assuming you are as blond as I am):

If you notice the mirror view, that’s because of the way we’d like things to work. For displaying the local view (on the left), we usually prefer to mirror the image we capture on camera as it looks more natural.
Switch between the tabs and play with the action buttons on the screen to get acquainted with the application.
I’d also suggest opening chrome://webrtc-internals on a separate tab (prior to starting a session) and taking a peak in the terminal running the web server.
